10 Steps to Planning a Stress-Free Multi-Day Hike

Ah, the serenity...
Or it would be, if I hadn’t set up camp right next to a busy road. Or if I’d packed an extra pair of socks for after a long, sweaty trek. And wait, I thought you had the tent poles?
Planning might not be exciting, but at the very least, it’ll make your hike more enjoyable, and sometimes, it could even save you from serious trouble.
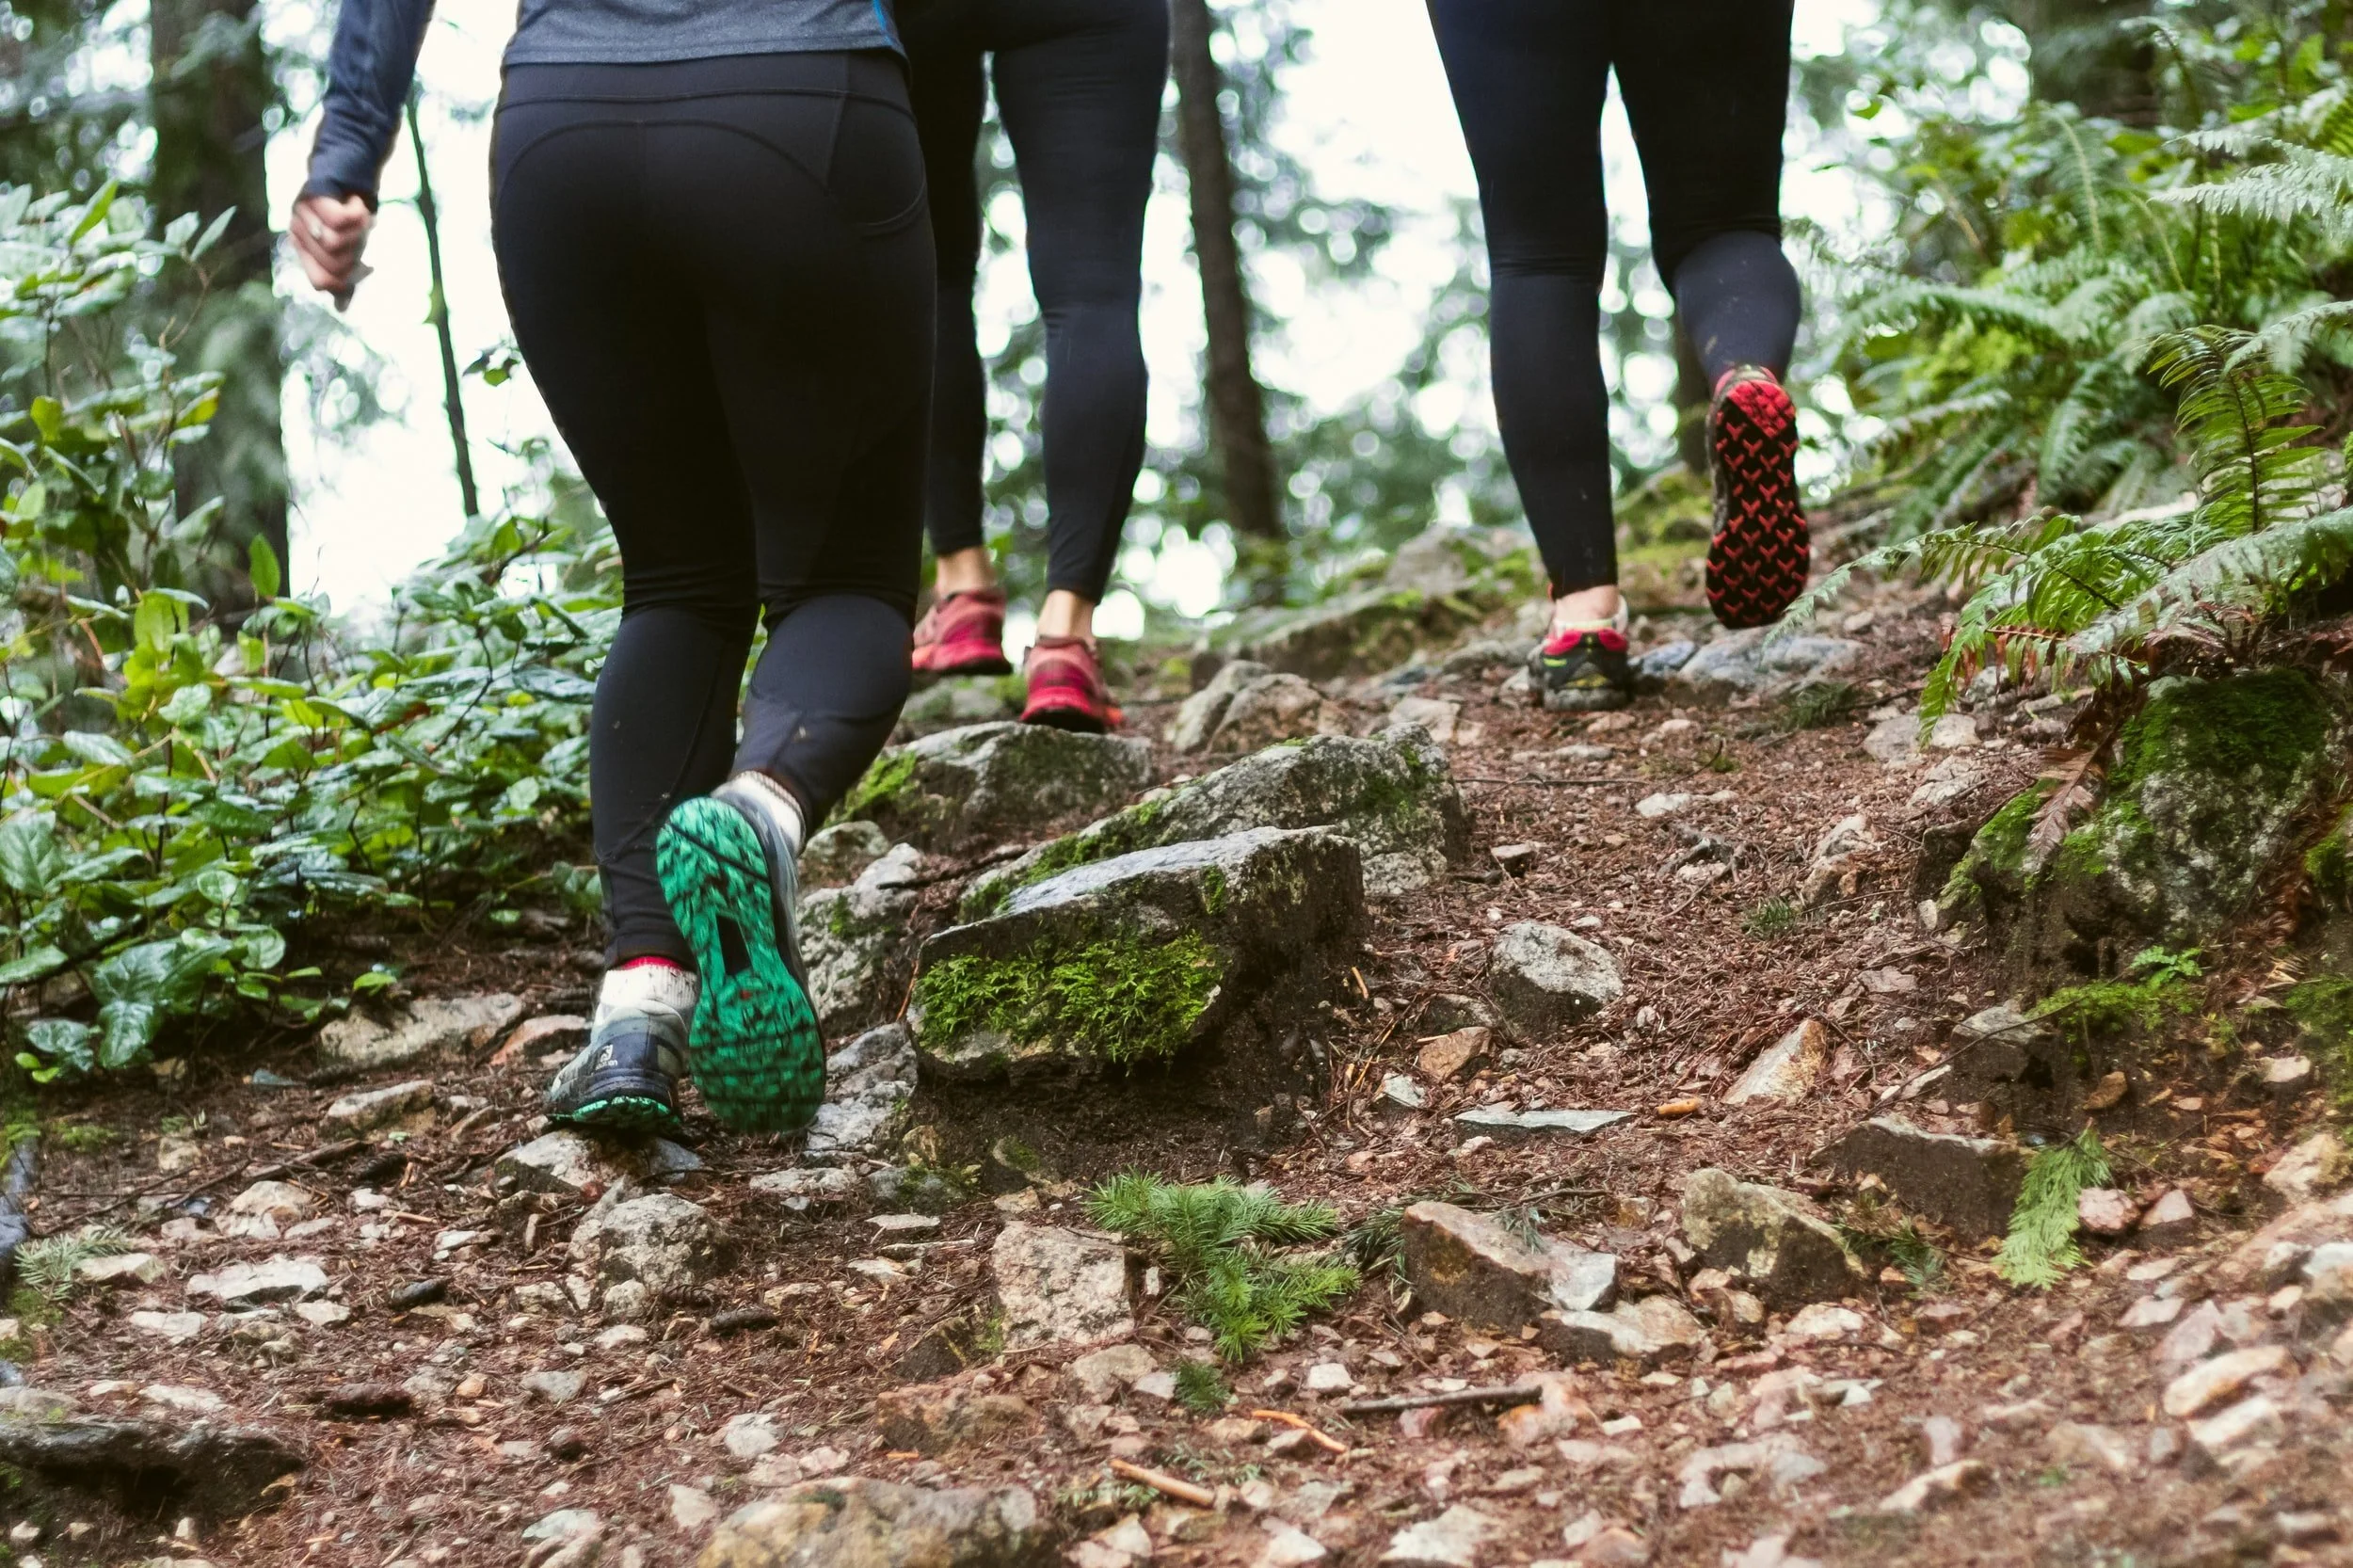
Step 1: Pick Your Trail
Sometimes, choosing your hike is the easiest part of the whole adventure.
The world is full of iconic hikes — Spain’s Camino de Santiago, Peru’s Inca Trail, Colorado’s Maroon Bells, Tasmania’s Overland Track and of course, the mighty Everest. Make sure you don’t overlook the hidden gems: lesser-known trails that offer just as much beauty without the crowds.
Start by checking local resources like the area’s Parks and Wildlife Service website. If you’re traveling, trusted guides like Lonely Planet can point you toward unforgettable routes. Or, explore W&O’s Destinations page — we feature firsthand accounts from our writers who’ve tackled these trails themselves. Whether you seek legendary peaks or quiet paths, the perfect hike is out there.
Before hitting the trail, ask yourself these important questions:
Is It Right for Your Experience Level?
If you’re new to multi-day trekking, jumping straight into a challenging route (like Nepal’s high-altitude trails) could be risky. Start with shorter, less demanding hikes to build stamina as even ‘flat’ trails can be surprisingly grueling over multiple days. A single overnight hike is a great way to test your gear and endurance before committing to something longer.
Where Will You Sleep?
Accommodations vary wildly. Some trails have designated campsites or mountain huts, while others rely on villages with teahouses or inns. Remote routes may require full self-sufficiency, with no established shelters at all. Pick an option that suits your comfort level, whether that’s a cozy lodge or a backcountry bivvy under the stars.
Are There Permits or Guides Required?
Popular trails like the Inca Trail or Overland Track often require permits and some (like parts of Nepal’s Himalayas) mandate guided treks. Research regulations early as some permits sell out months in advance and unexpected restrictions could derail your plans. Also, always verify trail conditions and rules with official sources before finalizing your route. A little prep now prevents big headaches later!
Step 2: Secure Your Spot
It's just walking in the wilderness, can't I just show up?
Think again. Popular trails like the Inca Trail often sell out a full year ahead. Even regional favorites require advance planning. Try snagging a last-minute summer weekend spot on Sydney's Coast Track in Royal National Park and you'll see what we mean.
Many parks enforce strict booking systems and you could face fines for camping without a reservation. Don't leave it to chance, so research permit requirements and lock in your dates early to avoid missing out.
Step 3: figure our your Transportation
Getting to the trailhead is easy. Getting back? That's where things get tricky. One-way hikes require extra planning unless you want to end up stranded.
If you've booked a guided hike, relax as your tour operator handles transportation. That's one advantage of going with professionals. For independent hikers, loop trails are the simplest. You start and finish at the same point, so just drive yourself or take public transit there and back.
One-way hikes need smarter solutions. Here are your best options:
Bring a hiking partner with two cars. Drive both vehicles to the endpoint first and leave one there. Then ride together to the starting point in the second car. When you finish, drive back together to retrieve the first vehicle.
Look for hikes connecting between train stations or bus stops. Many scenic trails were designed with public transit in mind, so take advantage of this.
Travelers should plan for luggage. Can you leave extra bags at a hotel? Many train stations have storage lockers too. For longer hikes, consider mailing clean clothes to your endpoint ahead of time.
Step 4: Are You Fit Enough?
Let’s be honest, hiking is way more fun when you’re not gasping for air or obsessing over your screaming leg muscles.
Start slow, but start now. If your idea of exercise is walking to the fridge, don’t leap straight into a 5-day trek. Begin by sneaking more steps into your daily routine: take the long way to work, power-walk your errands, or commit to evening strolls. Aim for at least an hour of walking a few times a week.
Train for the terrain. Pavement is fine, but trails throw hills, rocks and uneven ground at you. On weekends, look for local routes with elevation changes to prep your body for real hiking conditions.
Level up strategically. Once you’re comfortable, try half-day or full-day hikes. For multi-day trips, test yourself with at least one overnight trip as it’ll reveal gaps in your gear or stamina.
Gear matters, so test it early. Those fancy boots? Wear them now, not fresh out of the box on Day 1. Load up your backpack with weight (start light, add gradually) to mimic trail conditions. Blisters and shoulder aches are preventable if you put in the prep work.
Step 5: What Gear Do You Need?
Don’t hit the trail unprepared! These essentials will make or break your hike:
Shelter: A lightweight tent (every gram counts when you're carrying it for miles)
Carry System: A properly fitted backpack (test it loaded before you buy as comfort is key)
Sleep System: A sleeping bag rated for the coldest temps you’ll face as well as a compact sleeping pad (for insulation and comfort)
Cooking Setup: A stove/fuel system suited to your needs (consider weight, boil time and availability of fuel)
Our Hiking Gear How-To breaks down how to choose each piece wisely, while our Hiking Reviews put specific gear to the test. Need a complete checklist? We’ve got you covered with our ultimate pack list because forgetting something critical is the fastest way to turn an adventure into a survival situation.
Step 6: What Clothes Will You Wear?
Here's the golden rule: pack just two sets of clothes. Seriously, only two.
Every extra garment weighs you down and ounces quickly become pounds on the trail. Here's the smart way to do it:
One set for hiking (expect it to get sweaty and dirty)
One clean set for camp and sleeping (your well-earned comfort)
This simple system works for trips of any length, with two non-negotiable exceptions:
Underwear: Bring enough to stay fresh as this isn't the place to cut corners.
Socks: Pack 2–3 pairs for multi-day trips. Wet socks lead to blisters and worse. Rotate pairs to ensure you always have dry ones.
Weather-Specific Essentials:
Swimsuit for lakes and rivers
Insulated layers (think gloves, beanie, scarf) for cold climates
Full waterproof set (jacket + pants)
Sun protection (wide-brim hat + quality sunglasses)
Gaiters for muddy trails (learned this one the hard way!)
Your Most Important Gear: Boots That Can Keep Up
Invest in footwear that offers smart ankle support (protective but not restrictive), aggressive tread for unstable terrain, sturdy construction that stands up to rocks and proper arch support for all-day comfort. Remember to always break in new boots before your trip. Nothing ruins a hike faster than foot pain on day one.
Step 7: Where Can You Find Water?
Water access isn't just important, it's absolutely necessary for survival. Many trails won't have convenient, clean water sources readily available, so proper planning is needed.
Before your hike, thoroughly research your route's water situation. Look for reliable sources like streams along the trail or water tanks at campgrounds. If these are spaced far apart, you'll need to carry enough containers to transport water between stops. Remember, even when you find water, it likely won't be safe to drink untreated. Decide in advance whether you'll use purification tablets, a squeeze filter system, or a UV purifier like a SteriPen.
Some trails offer no natural water sources at all. In these cases, you must carry all the water you'll need for the entire trip. This means carefully calculating your daily requirements, not just for drinking (minimum 2 liters/0.5 gallons per day, more in hot weather) but also for cooking and rehydrating meals. Always pack extra as an emergency reserve and be prepared for the significant weight this adds to your pack. Proper water planning can mean the difference between an enjoyable hike and a dangerous situation.

Step 8: What Are You Going to Eat?
When it comes to hiking meals, you're playing a balancing act between nutrition and pack weight. Here's how to get it right:
Map out three solid meals per day plus energy-boosting snacks, making sure to include a small reward for after dinner (you've earned it!). Remove excess packaging at home to save space and weight and pack each day's meals separately for easy access. While canned goods might seem convenient, dehydrated foods are your best bet for multi-day hikes. Just remember that they'll require extra water, so factor this into your hydration plan.
Sample Meal Plan (Adjust to Your Needs):
Breakfast:
Quick-cook oats with powdered milk OR no-cook muesli
Hot drink of choice (tea/instant coffee)
Mid-Morning Snack:
Trail mix + fresh fruit (apple or orange)
Lunch:
Whole grain wraps or flatbread with tuna and bean pouch OR four-bean mix (vegetarian option)
Afternoon Pick-Me-Up:
Muesli bar or energy balls
Dinner Options:
Vegetarian risotto (rice, powdered soup, dried mushrooms/peas)
Udon noodles with miso and dried toppings
Pre-packaged dehydrated hiking meal
Evening Treat:
Small chocolate bar + warm drink
Key Considerations:
Focus on calorie-dense, lightweight foods
Account for any dietary restrictions
Balance carbs, protein and fats to make sure you get enough energy
Always pack out all waste so that you leave no trace
Remember: Your exact menu should match your energy needs and personal preferences. The goal is maximum nutrition with minimum weight.
Step 9: How Will You Find Your Way?
While smartphone navigation apps are convenient, they're unreliable in the wilderness where service is spotty and batteries die. Never rely solely on digital tools. A paper map, whether printed from Google Maps or taken from park authorities, should be an essential part of your kit. Pair this with a traditional compass; this old-school tool becomes invaluable when technology fails, as it often does in remote areas.
Before your hike, take time to understand basic compass use and study key geographic features of your route. Ask yourself: Will I be following a river? Crossing a mountain pass? Should the coastline remain on my right side? This spatial awareness helps quickly identify if you've strayed off course.
Finally, protect your navigation tools. Store your map, compass and important documents like campsite reservations in a waterproof case or bag. A waterlogged map is about as useful as no map at all when you're trying to find your way.
Step 10: What If You Get Into Trouble?
Heading into remote wilderness with just the gear on your back inherently involves risk, but proper preparation can significantly improve your safety. The single most important precaution is carrying an emergency communication device. We never hike without either a personal locator beacon (PLB) or satellite phone. When activated, a PLB sends your exact coordinates (accurate to within 10 feet/3 meters) to emergency services, vastly improving response times and rescue outcomes.
Before your trip, research whether local authorities offer hike registration services with parks or police, as this provides important information if search and rescue becomes necessary. At minimum, always share your detailed itinerary and expected return time with a trusted contact who can alert authorities if you fail to check in. For comprehensive safety strategies, including survival techniques and emergency preparedness, keep an eye out for our in-depth wilderness survival guide, coming soon.